Sunday, January 8, 2012

Welcome Naramata Folk! Bienvienue!


As you can see, I have not updated this blog in a long while.. since about last year's trip to Naramata, actually!

However, I wanted to give you a brief preview of some projects I'd like to do during the Eco-Art program, July 22-28th 2011. Please keep in mind, these are still the rough sketches for the program and could be subject to change!

Day 1: Nature and People - Red v Green!

You can see the similarities of these two molecules, and I am hoping to do a mandala type project, or exploring warm - cool colours and I like this project from KB


Day 2: Small and Amazing Creatures - 3D Wire structures
I love the style f artist Louise Bourgeois and would like to create some 3D wire creatures, but on a smaller scale that this!


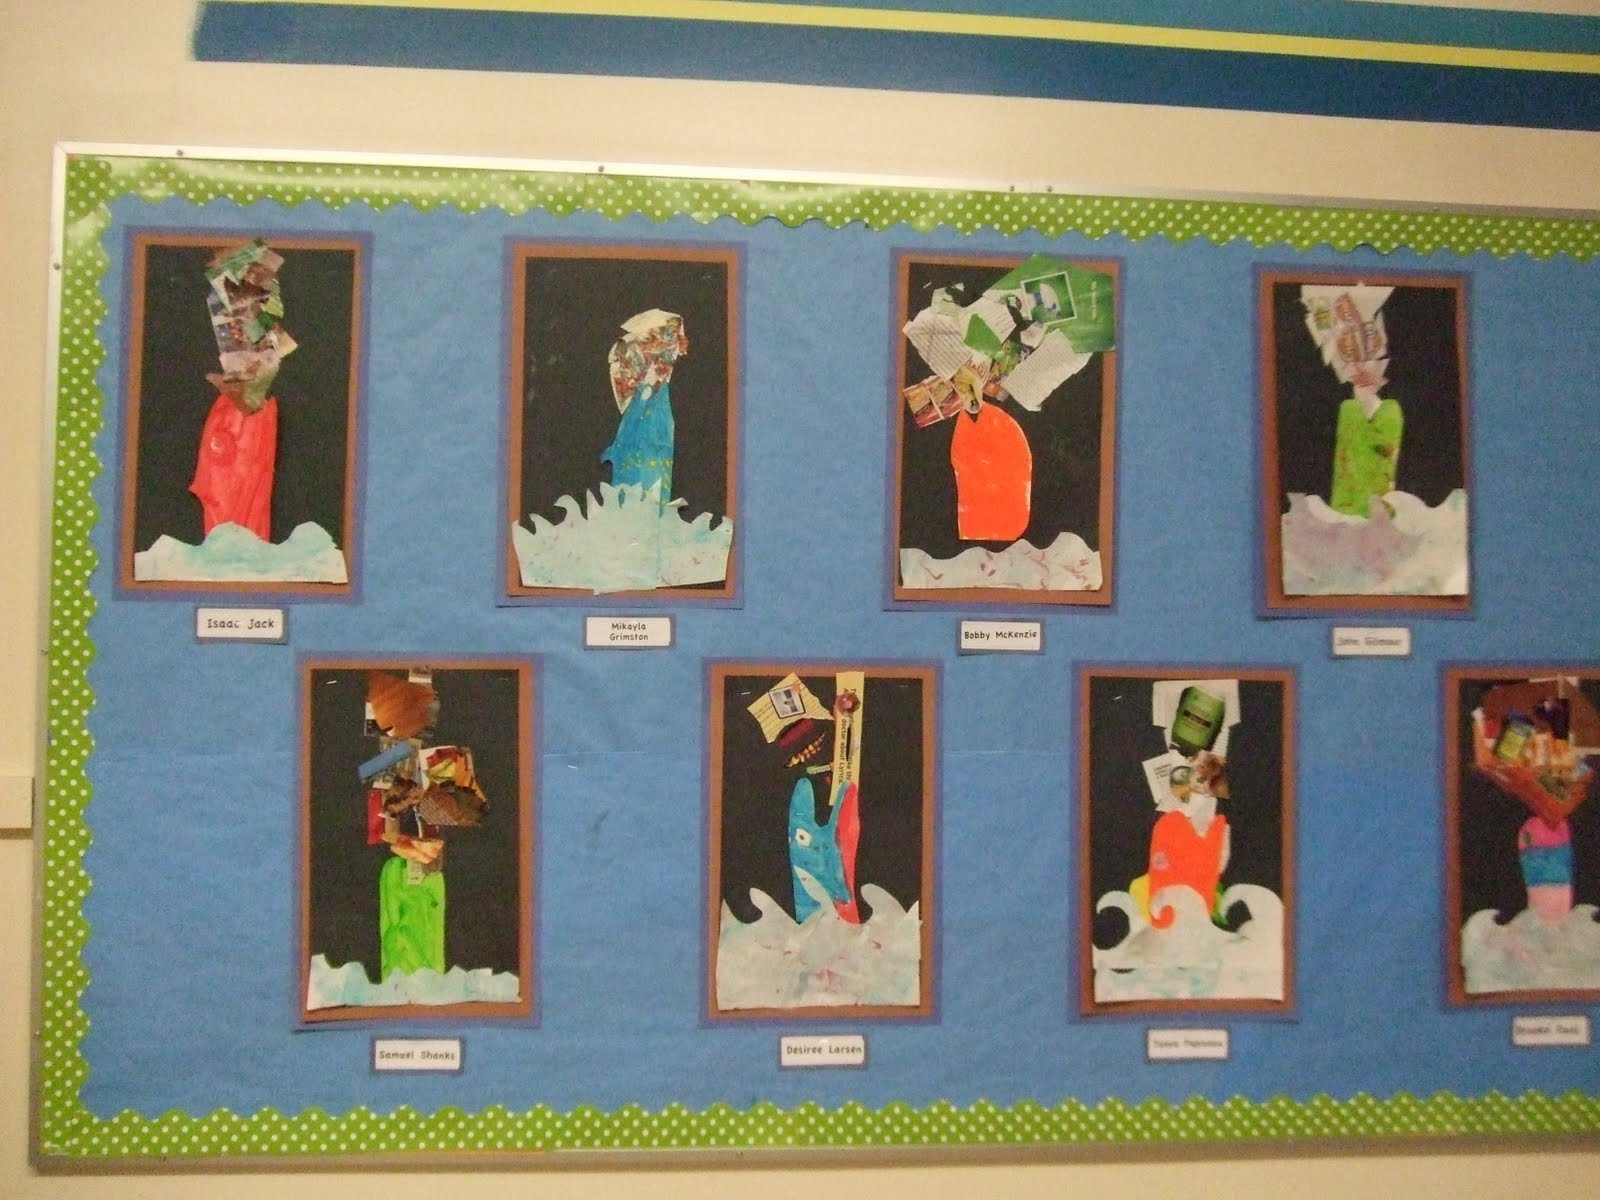
Day 3: we will look at Plastics in the Oceans and complete on canvas a multi-media mod-podge extravaganza, similar to this:

You can see more of this project by clicking here.

Day 4: Eaarth - altered atlases: painting on, doodling-drawing on, cutting, gluing, adding to, changing the shape of. If you "google" altered books or look on pinterest.com for "altered books" you see the amazing possibilities for this day!


Day 5: What in the World do we Love - open art day, using the techniques we've been exposed to, creating a culminating mural project for closing.

Thanks so much for stopping by, and I look forward to meeting you this summer!
Megan

Sunday, July 31, 2011

Le Soleil des Grenouilles est la lune. A frog's sun is the moon.


I love doing this project, the kids are so adept at directed drawing by this point and they really enjoy the subject as well. The 3-D tongues are an added bonus! I know I've borrowed this lesson from somewhere, so appologies for not crediting the right person.
For this project, we start, as I said, with a directed line drawing of a frog. Then we add the moon and the lily pad.
The kids get to paint their frogs and background, then when the paint is dry we add the rolled paper tongues, googly-eyes and some sparkle-y stars.

This year, I decided to make colour stations with the paint, as the colours were restricted. The desks are normally in little groups so on each "pod" I put a colour, (eg: blue) and some paint-brushes. All of the chairs were stacked and the kids had their drawings in hand. The RULE was that the paint-brushes STAY with the paint. While I had a few kids standing around waiting, or not sure where to go, for the most part, everyone got on with it, and I think there was only one accident where someone bumped into another person and their painting landed face down on the floor! I will FOR SURE do this again, as I found that there was less wasted paint and the kids got to move around and interact with more peers, not just those who they sit beside the whole rest of the day. It's also especially nice for the kids who sit beside those who have trouble sharing!

They all have such great personalities!

Two EASY Butterfly Projects

This first one is SO simple! It was a total "duh" moment!
I had seen some butterfly templates in a teacher book that I think were supposed to be made into finger puppets and had photocopied them for my butterfly file. Fast forward to our town's Easter Eggstravaganza and one of the crafts to make was a mobile using different coloured transparencies (pre-cut to be butterfly shaped, hole-punched top and bottom). The kids decorated them with stickers and moms and dads helped assemble them using paper clips, unfolded to be s-shaped. The kids could then add ribbons and beads to embellish their mobile.
Somehow mother's day snuck up on me and I realised that I needed a fast project to do with a challenging class, this was perfect!
At recess I photocopied the templates onto transparencies and then the kids really got into using the coloured sharpies to pretty them up!

The immersion class also wrote on the band part of the template the words: Je t'aime/maman/avec/l'amour/{nom} or Bonne/fete/des/mamans!/de {nom}
Then during an assembly (sh!) I opened up all of the paperclips and afterwards the kids assembled them, following my sample (one on the top, leading to two, each leading to one). Then, like at the craft table, they got to pretty-it-up some more with ribbon and beads.


The second butterfly project is a simple homage to Eric Carle.

Thanks mom for doing my bulletin board!!! I think your talents are being wasted as a professor in Engineering!
The children made their own painted paper using pretty much every colour of paint I had and then using different textured scrapers to move the paint, creating further detail. After the paint dried, the kids used different wing templates to come up with a butterfly they liked. (This was harder than I thought, many kids remembered the trick of cutting two, or four at a time, but then were disappointed when the painted side was down on half of their butterfly!
They were asked to embellish their butterfly by make stripes or spots or some kind of design using more paper, trading with their neighbours to find the perfect colour or pattern that they wanted to add.

Textured Bunny

I've been collecting bits of textured STUFF for a while now, waiting for a project to use it all. When I saw the "how to draw a bunny" post from {someone who I follow} I thought it would be the perfect time!
As you can see below, we used bubble wrap, corrugated cardboard and textured wall-paper for this project; as well as 2 pieces of white cardstock, water-colour (puck) paints, wax crayons and black sharpies.

We did this in two stages. We started by doing a directed drawing of the bunny, as shown here:

Next we took a second piece of paper and we used wax crayon to make the clouds and do rubbings for the grass (corrugated cardboard) and the basket (the wall-paper).

Then we painted the bunny (they could choose from yellow, white, brown or pink - or a combo!), and also painted the sky blue.
The next day when everything was dry, we cut out our bunnies and glued them to the backdrop. Hippity-hop!

Wednesday, April 6, 2011

Protect our Oceans!


Sigh. I've been anticipating this lesson with mixed emotions. I've been talking to the class about the environmental disaster that has become our oceans and how fish and other wildlife are affected by human behaviour.
Prime example:
"A dead gray whale washed ashore on West Seattle's Arroyo Beach last week. In itself, that is not an inherently unusual occurrence: five to ten gray whales die annually in Puget Sound waters, unable to complete the lengthy migration from the lagoons of Baja California, where they breed, to their summer feeding waters north of Alaska. Indeed, that whale was the fourth discovered in the region in a little over a week.

What was especially interesting about this particular whale, however, was its stomach contents. According to a postmortem examination by Cascadia Research:

The animal had more than 50 gallons of largely undigested stomach contents consisting mostly of algae but also a surprising amount of human debris including more than 20 plastic bags, small towels, surgical gloves, sweat pants, plastic pieces, duct tape, and a golf ball." (full article here)

In browsing some of the eco-friendly lesson plans in the dungeon at the school, I found a cool image of a sort of collage, depicting a fish eating garbage. PERFECT! I thought - high interest, relevant, socially-conscious art, that fits with my theme and will be displayed for Earth Day! And thus I began...

I started by making some oily water with the kids, using my favourite shaving-cream marbling technique on finger-paint paper. This they cut out to make the waves.


Then they painted fish *with open mouths!!


Finally, they glued everything on, and did a great collage of words (I thought representing the rhetoric?! and then bits of "garbage"- I tried to get them to focus on plastics).


Love how this worked, and how we used some recycled material to make it!

La pluie de printemps... April Showers...


I have started a water unit with my class and we are looking at the water cycle, water creatures and water states.
Given that we live in the rainiest place EVER, I decided to brighten our days with some rainbows. Such an easy, classic project, I actually left it for my sub the other day, but the kids loved it, and I loved the different textures.
-I used 2- 9x12 paper, cut into an arc (these you glue back to back)
-the middle of the arc got glued on the end to support the cotton ball cloud
-on the other end, a piece of tinfoil was snipped at the end and the lengths curled around a pencil for the rain.
The rainbow:

This second piece was the activity to go with a little Science lesson on water permeability... what fabrics or materials repel water, which ones soak it in.. I found this cute jacket template (actually there were 2 to choose from) they coloured it front and back, then cut it out, and wrapped it in saran-wrap! easy, fun!

Les Lucioles dans la Lumière de la Lune


Moonlit Fireflies!
We also did the moonlit fireflies lesson, originally presented by Marymaking, then also done by smART Class
It tied in very nicely with our space and moon unit in March.
I was impressed at how dry-brushing poster paint onto black paper worked!
That was how we started, using cool colours (blue, purple and green). Then the kids painted a paper plate (the thin kind with the ribbed edge) with pearlescent paint. They had the choice to make a full moon, or a half (quarter, etc) moon. This was perfect tie in, as we've been tracking the moon's phases, and they knew that the moon was always round, just not always completely showing.
They made fireflies out of bits of cardboard, glued bits of gold pipecleaner for the "tail" and googly eyes!

We used silver paint to dot on stars and finished the piece by highlighting the edge of the moon with yellow pastel and drew treetops with green and brown pastels.