Tuesday, February 22, 2011

Pink Day.. anti-bullying and .. FLAMINGOs!!!


Tomorrow is Pink Day at our school, and indeed the district. It's when we all where pink shirts with anti-bullying messages to remember a boy who was bullied for wearing a pink-shirt.. Here's MY boy wearing HIS (ok, well, my old) pink shirt..
I thought with all this pink going on, it's the perfect time to implement the lesson I've had in the works for a couple of weeks.
Every gym period, for the past month, I've looked at this big wooden flamingo that's sitting on the top of a bunch of lockers on the stage of the small gym. Random? Yes! It's been the inspiration for this project, that and some lovely beverage napkins!


Yesterday, we did a drawing of our new feathered friend, using chalk on grey construction paper. We looked at this giant wooden beast (I think it used to be used as a planter? - and I'm sorry, I forgot to take a picture of it!) as well as pictures on google images. We then used pastels to colour it in. Most of the class used oil pastels, and some of the more gifted students used chalk-pastels. When students were finished, they worked on the palm tree fronds and tropical flowers that I used around the border. I really liked how this turned out.. it both gave students something relevant to do while they waited for others to finish, and I love how fabulous the display looks with the extra foliage (and foliage I did not have to make!) I'm going to do this again tomorrow with my other class, when we do birds of paradise.. I'm trying to beat the winter blues by imagining a tropical holiday!
I love how each flamingo has a unique personality:

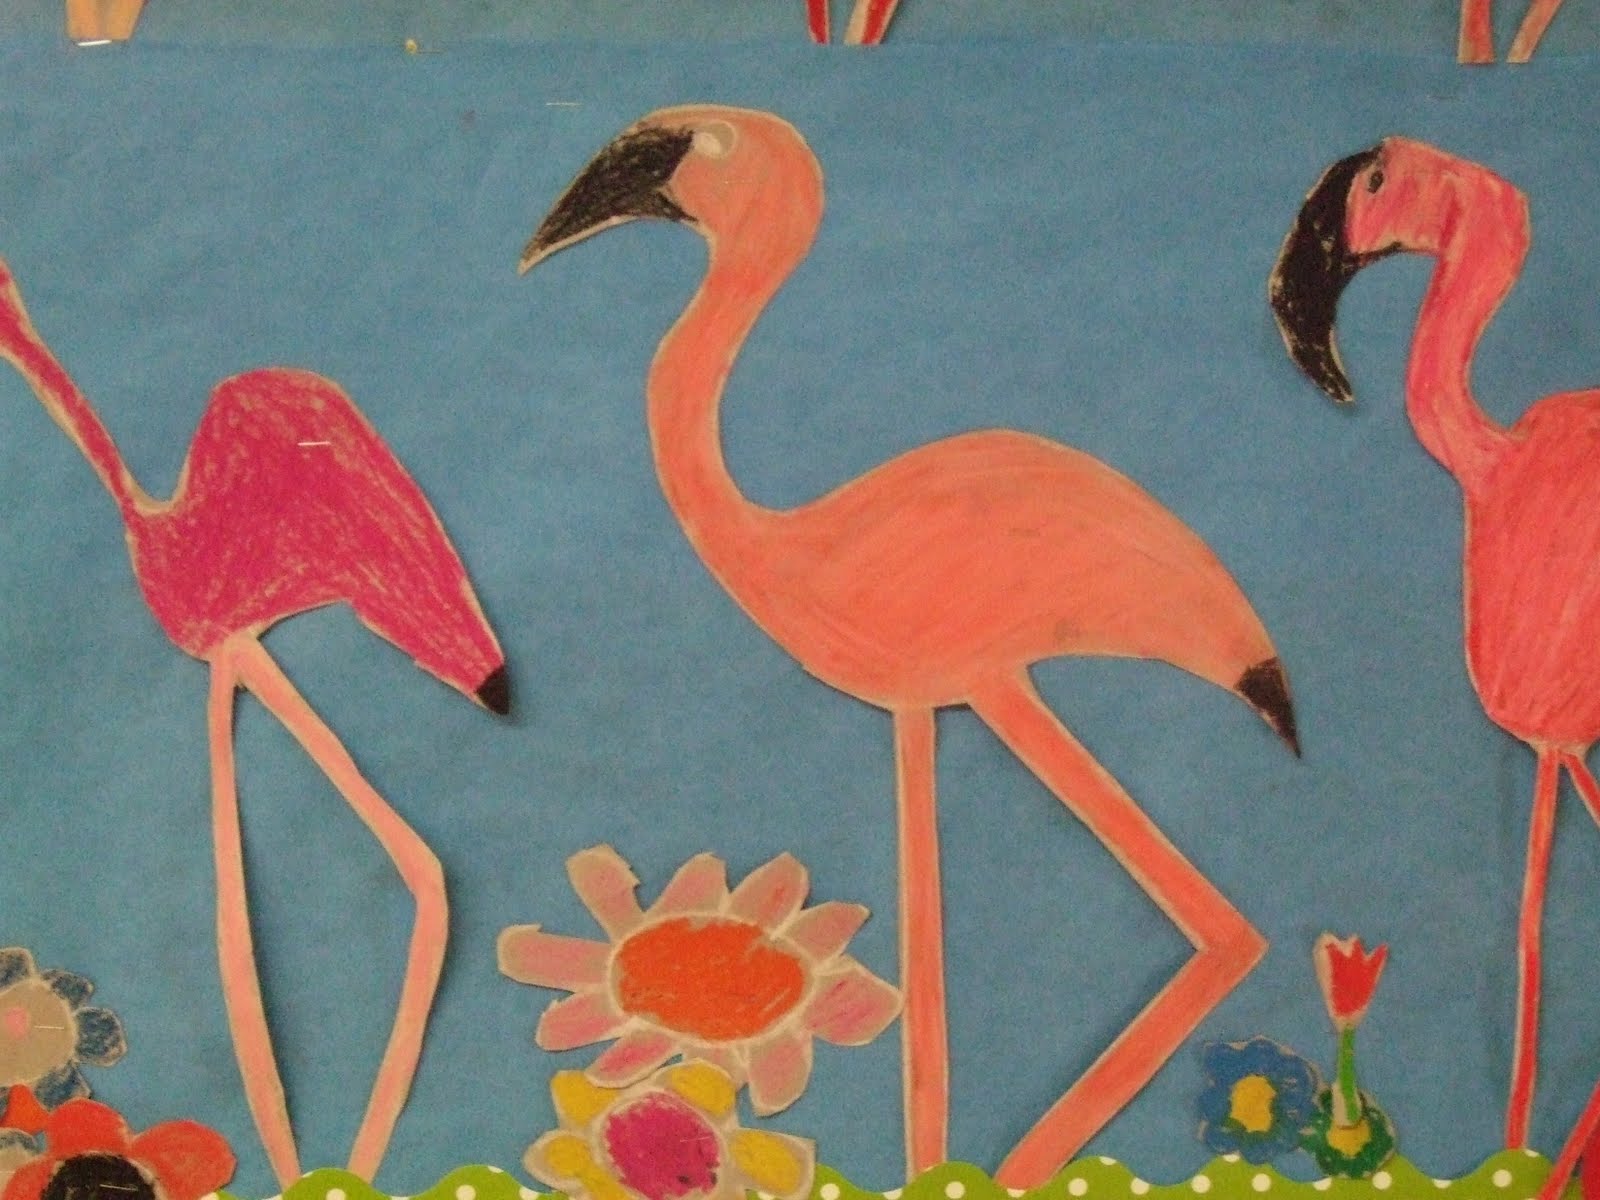
They really ARE fabulous!!!!!

Monday, February 21, 2011

100-Day - Le 100e Jour d'Ecole


In the February Scholastic book order I found TWO FRENCH books around the 100e jour d'ecole theme. I was excited about them and ordered them, and then when they arrived, I was estatic to find that they were both really good! People who teach in the regular program have no idea how hard it can be to get resources like this, especially ones that you find are good and language-level appropriate!! One was a cute story book with tons of potential spin-off activities, and the other was a book for teachers with activity suggestions "Le 100e jour d’école : Célébrons-le de 100 façons! " . One suggestion in the activity guide was to do a self-portrait of when you're 100 years old.
The kids and I had a BALL imagining ourselves. They did a great job following my instructions about proportion, and I even dared to talk about womanly curves! oh my! (well, it is a French immersion class after all!) haha!

Grade-Wide Quilt


I teach Art to most of the grade twos at my school. I have a sweet deal where the reg. program (English) gr 2 teacher takes my kids for PE while I teach his kids Art. I decided to do a project where every child in grade two was included, and a grade-wide quilt seemed like the perfect project. I was initially inspired to do some paper weaving after going to a Math workshop where teachers had to make a few manipulatives to use during the workshop. This huge box of lovely long colourful strips of paper destined for the recycling was located next to me. It was an opportunity I couldn't miss, so I asked to take them home, and proceeded to transport them by ferry and car back to Port Alberni!
After teaching the kids how to weave, I borrowed this silhouette idea from someone else recently (I'm sorry, I can't remember who!) We talked about symbols and shadows.

I'm very pleased about the unifying presence this quilt has in the primary wing of the school. Especially when there is often divides between our two programs, once again, Art provides an opportunity for equality and unity.

Tuesday, February 8, 2011

Groundhog Day - Jour des Marmottes


Yes, I realise that this is completely late in being posted, however, it will be labeled, so hopefully someone next year might find it useful!
This is a simple project, but effective.
Supplies:
-light-blue construction paper or card-stock
-white construction paper (1/2 the size of the blue)
-1 popscicle stik
-1 groundhog (I found a cute template in an old Mailbox magazine which I printed onto brown construction paper - you may also find one you like if you do a google search for "groundhog colouring sheets", then just size appropriately.
-pastels
How to...
-Cut the top of your white paper into an interesting line, appropriate for snowy-drifts.
-Cut a line, horizontal to the "snow," where the groundhog will pop-up and down.
-Use the cut-out groundhog to trace a shadow on the snow. colour and smudge with pastels.
-Glue (or tape) groundhog to the stick
-Decorate the scene with pastels
-Slide the puppet through the slot.
See how he can be moved up or down? :)


Quick and easy, especially when you're battling those seasonal bugs!

Thursday, January 27, 2011

Chinese New Year Dragons (nouvel an chinois)


I spent a couple of hours the other day trolling my blogroll looking for inspiration for this week's art lessons. I happened upon this one at smARTy Pants which I thought was quite cute. However, the next day at school I forgot my laptop and googled "handprint dragon" (with all manner of combinations and ended up finding, not smArty Pants, but this site, which had templates ready to go! I decided that this time, using templates wasn't such a bad idea, and decided to focus on cutting skills: showing kids how to cut over a template (rather than cut, trace, cut), and cutting multiple things in one go (ie: 4 hands with one trace, or cutting two legs from the one template). I also really emphasized making the most of your paper (there was a limited amount out on the table, and if they couldn't find the size or colour they wanted, they needed to share, or get creative!

The kids LOVED this activity! Although they were all cut from the same template, each dragon has their own personality! I'm looking forward to having a completed display with all of them up.

De Paris Avec Amour


I have been so excited to do and to show off this project! It was inspired by Gail's Postcard's from Paris post (nice alliteration!) Ok.. I blatantly copied, actually! But the spin I put on it was our Parisian Bonhomme de Carnaval, and gigantic Tour d'Eiffel! We are celebrating Caraval at our school (we do this every 2 years) and my challenge to my colleagues was to dress up Bonhomme de Carnaval some how and display him outside their classrooms. (A few Art teachers blogged about doing this with snowmen in December at their schools, and I loved the idea!)

So as you can see, our Bonhomme is a real Parisian man! The kids used these ladder-shaped blocks to print the iron for the Tour d'Eiffel.
I first took pictures of all of the students in a striped shirt (for the garçons) and a frilly blouse (for the filles).
Then we basically followed Gail's instructions, using the cardboard, tissue and bubble wrap with black and white paint. In retrospect, I should have talked more about the shape of the tower.. as some were more triangular than others. Oh well! The kids LOVED this project and are very proud of the Parisian display!


Here is my friend and across the hall neighbour's interpretation of Bonhomme (de policier!)

Wednesday, January 12, 2011

Les Bouleaux, Birch Trees - water colour

I was inspired by this post by Patty at Deep Space Sparkle (the blog that started my passion!) She starts her intro with "Everyone has done a birch tree art lesson. They are such a lovely tree, stripped of their leaves and shimmering with black and white bark." ummm... nope.. never done a Birch Tree lesson.... until now! Now Patty does a little more with her lesson.. like background and foreground trees and textured sky. But I think with grade 2s, we'll stick with the basics! This has been a rather time-consuming project, as I really wanted optimal results.. therefore, I drew the horizon line on each paper, and have been instructing each child individually on how to do the shading for the trees. This, coupled with the fact that I've been off sick for the past week, means that we're a little late in getting the first art project of the year finished! However, I think you'll see that the results are worth the wait.

Step 1: Masking-tape off the "birch trees"

Step 2: paint the sky (they could choose orange/yellow or blue/purple)
Step 3: Mme paints the horizon line
Step 4: Outline the birch trees with a black sharpie

Step 5: Mme helps each one paint their shadows
Step 6: Remove the tape and add some bark detail with a sharpie
Voila!

I'm now working on a Valentine's Day project that I'm SO excited about! I can't wait!!